Sorry I have been MIA for over a week now! My school starts last week, and things have been going crazy now! But I am going to put up posts as frequent as I can because great make-up looks are lining up in my planners now :)
Anyway, today's look is going to be a soft smokey eyes. It focuses on the outer V of outer corners of the eyes. I am going to teach you how to create a V shape in the outer corner.
The good thing is you only need two eyeshadow colors: light and dark colors :)
Lets get started..
Eyes:
 |
| see the blue V shape in the outer corner? |
products I used

eyeshadows swatches

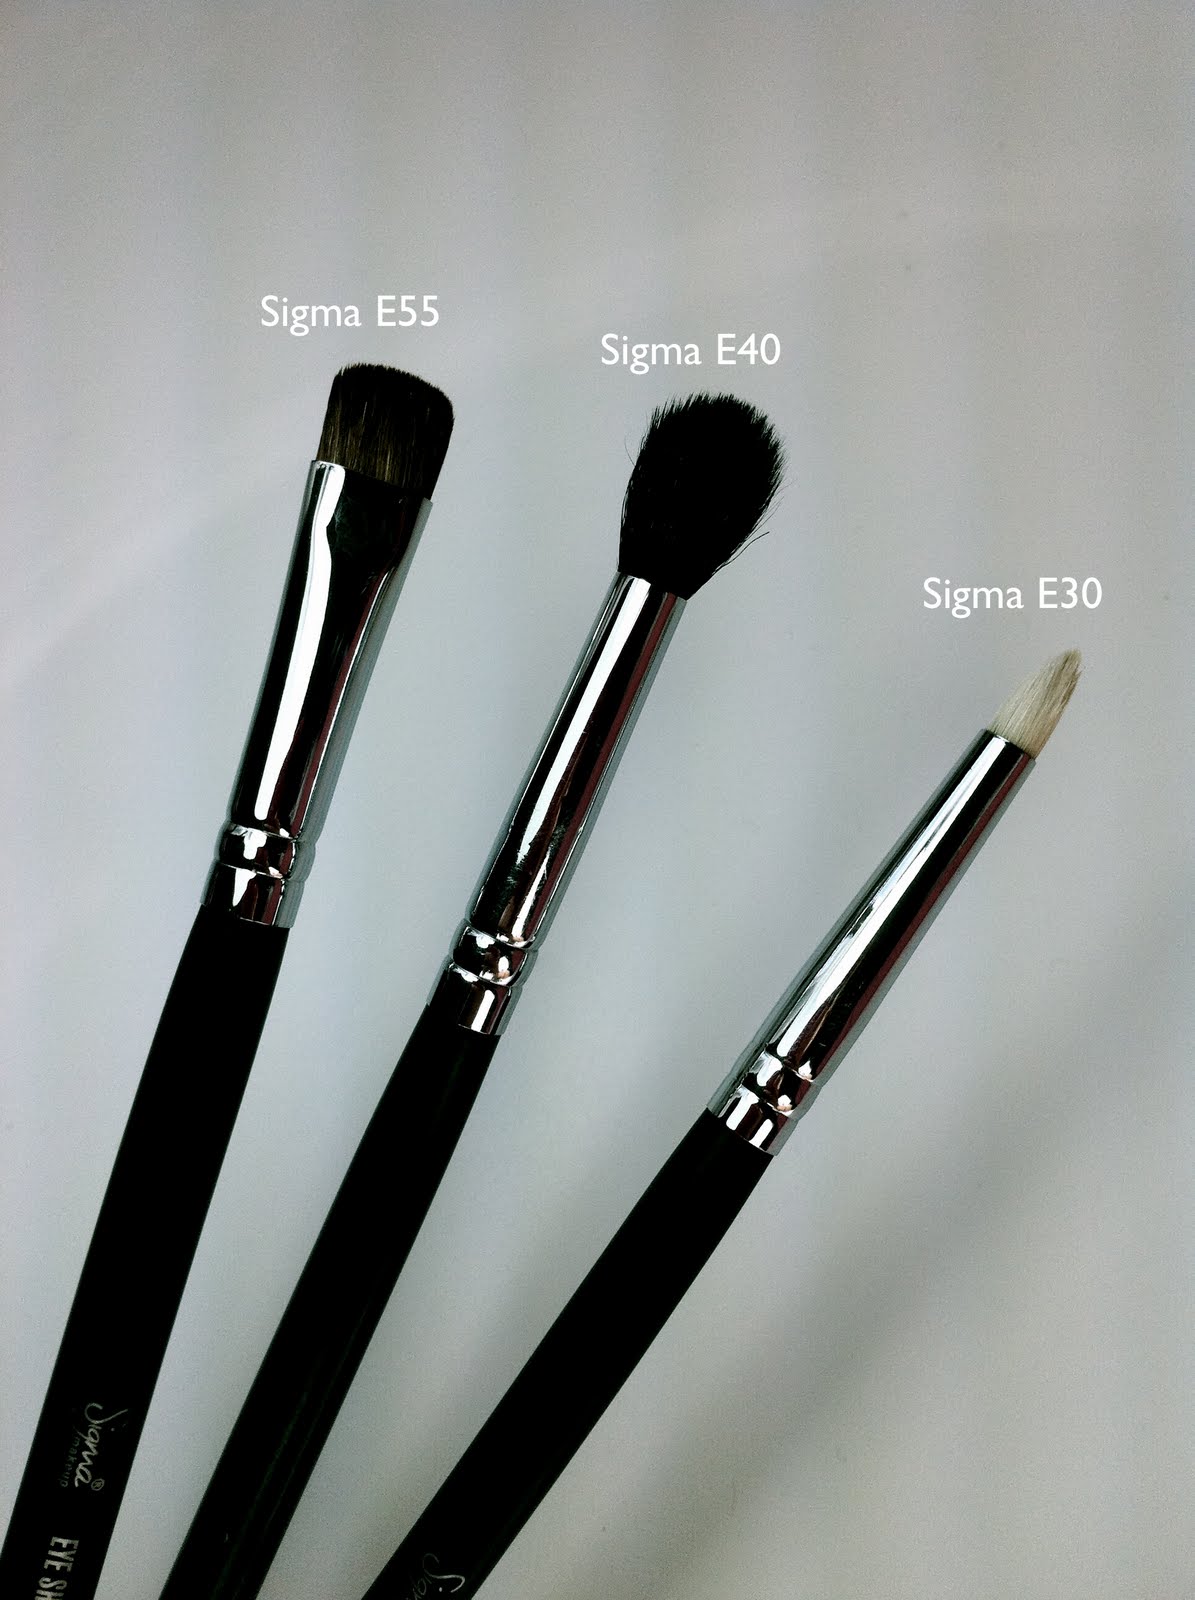
eye brushes needed
steps by steps
- Prime your lid with Smashbox Photo Finish Lid Primer
with your finger. This helps to make the eyeshadows stay very long.
- Apply MAC Naked Lunch onto the whole entire lid up to your brow bone using Sigma E55. This eyeshadow also works for highlighter under your brow.
- Now grab your pencil brush like Sigma E30, and MAC Contrast onto the brush. Draw a line starting from the end of your eye, come up to the crease, and come slightly to the crease about halfway. Then, blend it back and forth. You will start creating a V pattern. Do the same stroke again to make it look darker and more blend out. You can also feather inward your eyeshadow, or smoke it up above the crease, too. Then, after you're satisfied with the color, blend it slightly back and forth with Sigma E40. Do not blend it too much because your outer V will fade away.
- Take more of the MAC Contrast with Sigma E30, and line your lower lash line with it.
- Line your upper lash line with Milani Inifinite Liquid Eyeliner in Everlast. This eyeliner was so hard to work on, probably because the tip is not felt tip.
- Line your water line with Stila Kajal Eyeliner in Onyx
.
- Curl your lashes and apply Covergirl Lashblast Mascara in Black.
You're done with the eyes!


Since the eyes are pretty dramatic, but not so much either.. lets keep the face simple :)

steps by steps
- Apply your foundation all over your face with Sigma F84. Apply as much as you need - not too much, because otherwise it will be too cakey. I used Lioele Triple Solutions BB Cream
.
- Cover you dark circles under your eyes with the right side of Laura Mercier Undercover pot-3. Pat it on with Sigma F70, then blend it with your ring finger. The pot also comes with the setting powder, so set your concealer up with it - you can use a blending brush to set the powder, like Sigma E40.
- If you have any imperfections like blemishes, acnes, etc, cover it up with the left side of the concealer pot.
- Pat Palladio Rice Powder in Natural with a powder puff or powder brush evenly.
- Suck your cheeks, then contour Benefit Hoola Bronzer
along with the line using MAC 109.
- Sweep Smashbox Blush in Chiffon
in the apples of your cheeks with MAC 109.


The most important tool for creating a V shape is a pencil brush. Here are some choices of pencil brushes you can buy (just click on the name, it will direct you to the websites):
- MAC 219 $24.50
- Coastal Scents - they have tons of pencil brushes! $3.29
- Makeup Geek - $5.99
- Eco Tools - $4.99
- NYX B15 - $9
- NYX B31 - $5
A pencil brush is a must-have in your brush collections! :)
For the eyeshadows, you can use any colors you want on the V shape: blue, teal, brown, grey, green, etc. But, make sure you use lighter color on the lid to make the V shape look more obvious. White and champagne shimmer color are the most universal colors for the look :)
Have fun trying!
<3,
A


